DataMatrix PCB label — 25×25 mm
Micro traceability label for printed circuit boards: high-density DataMatrix with the board serial and a human-readable reference. Optimized for small footprints at 300 dpi.
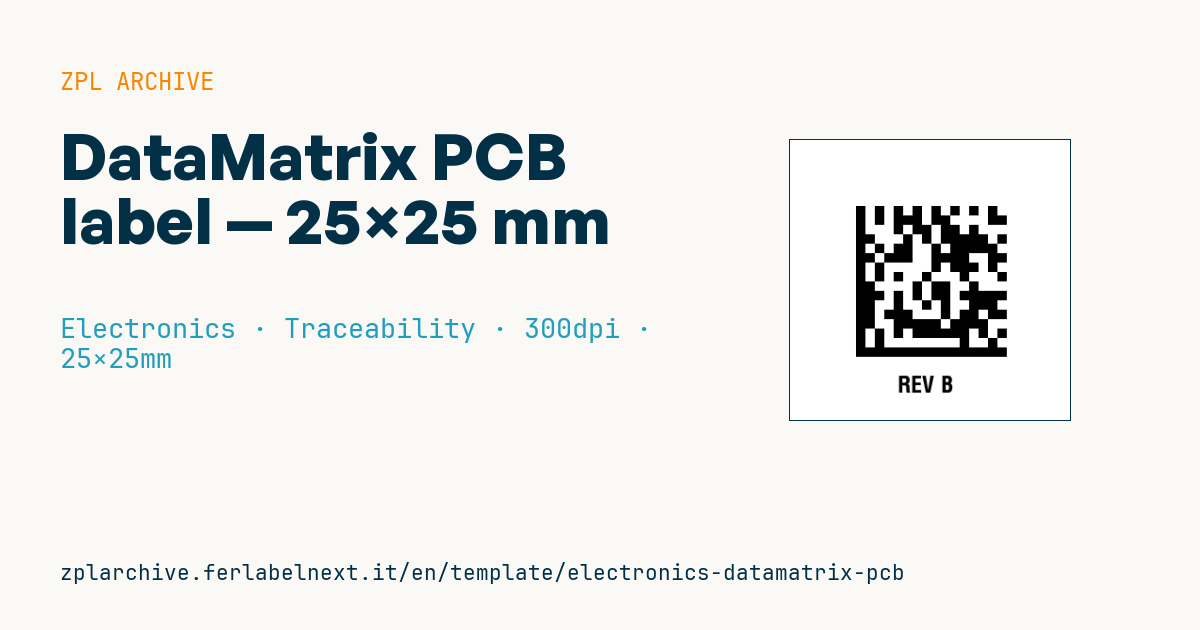
DataMatrix PCB label
25×25 mm @ 300 dpi. DataMatrix (^BXN) carrying the board serial with a text reference below. Designed for tight footprints on printed circuit boards.
Placeholders
-
pcb_serial— board serial/identifier -
board_ref— reference or revision (human-readable)
When to use it
It is applied to the bare or populated board at the start of the SMT line, so every station (paste printing, pick-and-place, AOI, in-circuit and functional test) logs its data against the same serial. It lets you rebuild the history of each board when a field failure or a lot recall happens.
If the label goes through reflow or washing, paper will not survive: you need polyimide labels made for high temperatures, printed in thermal transfer with a matching resin ribbon. If the label is applied after soldering, polyester is enough.
Standards and requirements
The symbology is DataMatrix ECC 200 as defined in ISO/IEC 16022; print quality of 2D codes is graded under ISO/IEC 15415. For traceability in electronic assemblies there is IPC-1782, which describes different traceability levels: the required level is set by your customer.
At 300 dpi one dot is about 0.085 mm. In ^BXN,h,200 the h parameter is the module size in dots: below 3 dots many fixed in-line readers struggle. Leave at least one free module around the symbol as a quiet zone.
Common mistakes
- Shrinking the module to 1-2 dots to make the code fit: in-line reading becomes unreliable.
- Using a non-reflow label on a board that still goes through the oven: it darkens or peels.
- Placing it where components, shields or conformal coating will cover it.
- Generating serials that are not unique across lines or plants.
FAQ
How small can a DataMatrix on a PCB be?
It depends on the number of characters and the reader. Test the symbol with the line scanner before shrinking it; a short serial allows a smaller code.
Label or laser marking?
Direct laser marking is permanent but needs dedicated equipment; a polyimide label works with a standard printer and suits changing volumes.
ZPL code
^XA
^PW295
^LL295
^CI28
^FO70,70^BXN,10,200^FD{{pcb_serial}}^FS
^CF0,24^FO20,250^FB255,1,0,C^FD{{board_ref}}^FS
^XZ- Industry: Electronics
- Category: Traceability
- DPI: 300
- Size: 25×25 mm
- Tags: DataMatrix, Electronics, PCB, Serial number
What this label contains
Barcodes
- Data Matrix
- Very compact 2D code, readable even at a few millimetres: component marking, PCBs and asset tags.
Elements
- 1 text field
- 2 variable fields to fill in
Variable fields
| Field | Description | Example |
|---|---|---|
pcb_serial | Board serial | PCB-2026-0099A |
board_ref | Reference | REV B |
Format and printing
25×25 mm (0.98×0.98″) at 300 dpi: 295×295 dots. Square.
Compatible Zebra printers
You need a printer with a 2″ printhead at 300 dpi, for example:
- Zebra ZD411 (desktop)
- Zebra ZD611 (desktop)
Any Zebra printer with a wider printhead and the same resolution works too.
The code is written for 300 dpi: on a printer with a different resolution the label prints larger or smaller and needs rescaling.
How to use it
- Open “Customize placeholders” and enter your data in the variable fields listed above.
- Check the preview: it is rendered from the same ZPL code you will send to the printer.
- Download the .zpl file or copy the code and send it to the printer: with “Print” through Zebra Browser Print, or as a raw file to port 9100 if the printer is on the network.
- Load 25×25 mm labels and make sure the printer is set to 300 dpi. For a different size use “Duplicate & edit” and adapt the layout in the builder.
Edit it in the editor
To change the layout, use “Duplicate & edit”: the template opens in the online ZPL editor, where you modify it and save it to your account for free.
Related templates
- Instrument calibration tag (QR) — 40×30 mm 600 dpi · Electronics · Asset
- Cable/connector label (flag wrap) — 50×25 mm 300 dpi · Electronics · Commercial label
- ESD / voltage warning label — 50×30 mm 203 dpi · Electronics · Commercial label
- Battery rating label — 50×30 mm 203 dpi · Electronics · Commercial label
- RMA return tag — 70×50 mm 203 dpi · Electronics · Return
- Device manual/support QR — 40×40 mm 300 dpi · Electronics · Commercial label
- Warranty label — 60×40 mm 203 dpi · Electronics · Commercial label
- IT asset tag with QR — 50×25 mm 300 dpi · Electronics · Asset