Compact bin label — 40×20 mm (300 dpi)
Compact label for bin identification (drawers/small parts containers). Code + Code128 only.
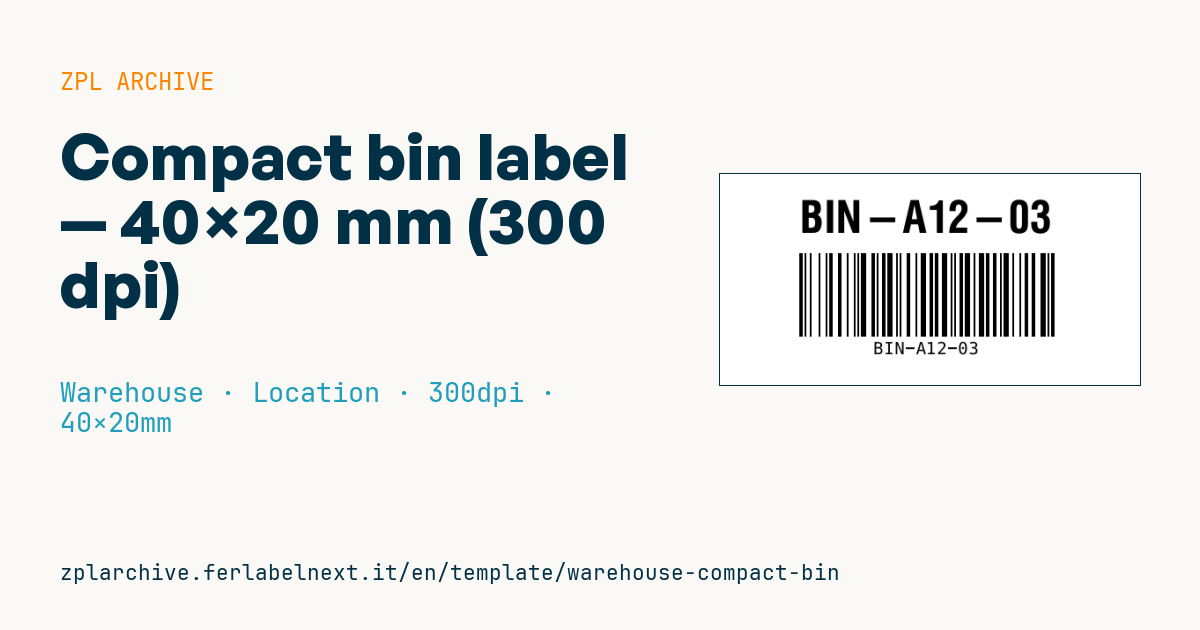
Compact bin label
Minimal 40×20 mm @ 300 dpi format for bins/small parts drawers. Use when space is tight and the only info needed is the container code.
Placeholders
bin_code— container code (e.g.BIN-A12-03)
When to use it
This label identifies small-parts drawers, louvred bins and plastic trays on light shelving, where the front lip is only 2-3 cm high. It is used in spare-parts stores, maintenance workshops and assembly lines that pick screws, connectors or electronic components with a handheld scanner.
A bin stays in service for years and is handled constantly, often with gloves or oily hands, so thermal transfer on polypropylene or polyester with a resin or wax-resin ribbon is the right choice. Direct thermal paper yellows and loses contrast within months.
Standards and requirements
Code 128 is defined by ISO/IEC 15417, which calls for a quiet zone of at least 10 times the module width on the left and right of the symbol. On a 40 mm label that space is scarce: keep bin codes short and in a fixed format. At 300 dpi a 1-dot module (about 0.085 mm) is too thin for many scanners; ^BY2 or ^BY3 keeps you in a safer range. For print quality verification, the reference is ISO/IEC 15416.
Common mistakes
- Long codes that force a smaller module and make the barcode unreadable from a few centimetres away.
- Applying the label to curved or textured surfaces without a suitable adhesive, so the corners lift.
- Printing the human-readable code in a different format from the encoded one (missing spaces or dashes).
- Ignoring the quiet zone and letting the barcode touch the edge of the bin lip.
FAQ
What material should I use for bin labels?
For indoor use at room temperature, white polypropylene with a wax-resin ribbon is enough. With oils, solvents or washing, move to polyester with a resin ribbon.
The scanner won't read the barcode: what should I check?
Check the module width (^BY), the quiet zone and the contrast. Often shortening the code or adding one dot to the module solves it.
ZPL code
^XA
^PW472
^LL236
^CI28
^CF0,50^FO90,30^FD{{bin_code}}^FS
^BY2,2,90
^FO90,90^BCN,95,Y,N,N^FD{{bin_code}}^FS
^XZWhat this label contains
Barcodes
- Code 128
- High-density linear barcode that encodes the full ASCII set: ideal for tracking numbers, internal codes and alphanumeric IDs.
Elements
- 1 text field
- 1 variable field to fill in
Variable fields
| Field | Description | Example |
|---|---|---|
bin_code | Bin code | BIN-A12-03 |
Format and printing
40×20 mm (1.57×0.79″) at 300 dpi: 472×236 dots. Landscape.
Compatible Zebra printers
You need a printer with a 2″ printhead at 300 dpi, for example:
- Zebra ZD411 (desktop)
- Zebra ZD611 (desktop)
Any Zebra printer with a wider printhead and the same resolution works too.
The code is written for 300 dpi: on a printer with a different resolution the label prints larger or smaller and needs rescaling.
How to use it
- Open “Customize placeholders” and enter your data in the variable fields listed above.
- Check the preview: it is rendered from the same ZPL code you will send to the printer.
- Download the .zpl file or copy the code and send it to the printer: with “Print” through Zebra Browser Print, or as a raw file to port 9100 if the printer is on the network.
- Load 40×20 mm labels and make sure the printer is set to 300 dpi. For a different size use “Duplicate & edit” and adapt the layout in the builder.
Edit it in the editor
To change the layout, use “Duplicate & edit”: the template opens in the online ZPL editor, where you modify it and save it to your account for free.
Related templates
- Multi-level bay location — 100×50 mm 203 dpi · Warehouse · Location
- Single rack location — 50×30 mm 203 dpi · Warehouse · Location
- Shelf-edge / bin label — 40×20 mm 300 dpi · Warehouse · Location
- Cross-dock receiving — 100×70 mm 203 dpi · Warehouse · Cross-docking
- GS1 SSCC pallet — 100×150 mm 203 dpi · Warehouse · SSCC
- Pick face label with QR — 60×40 mm 203 dpi · Warehouse · Picking
- WMS tote label — 70×50 mm 203 dpi · Warehouse · Picking
- Zone / aisle sign — 100×50 mm 203 dpi · Warehouse · Location